


Recently my friend Tom, a fellow foodie, recommended a documentary that he considers a “must see”. It’s on Netflix right now and sounded interesting so I poured a glass of wine and queued it up. If you’ve followed my blog you know that I’ve made very few movie recommendations over the last four years, only doing so when it’s one that has inspired me to share.
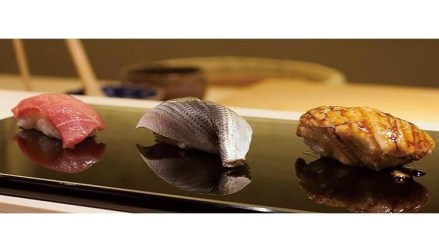
Released in 2012, Jiro Dreams of Sushi is the fascinating, joyful story of Jiro Ono an 85 year old Sushi Master and owner of Sukiyabashi Jiro, a Michelin three-star restaurant. Sukiyabashi Jiro is a 10-seat, sushi-only restaurant located in a Tokyo subway station. Jiro Ono serves a tasting menu of roughly 20 courses, for a minimum of 30,000 Japanese yen ($281 USD). with a well deserved reputation of creating the best sushi in the world. And his is the only Michelin star recipient whose restaurant doesn’t have its own restroom (though you can use one in the subway).*
The movie is sub-titled which is worth mentioning though it does nothing to detract from the fascinating and mesmerizing story. I was enthralled by the artistry and mouth-watering sushi but Jiro is the star here. His life story is incredible and his passion for his craft is inspiring. The old saying that “when you love what you do you’ll never work a day in your life” has never seemed more accurate.

The movie is a feast for the eyes and a story that will stay with you long after you’ve seen it. Suffice it to say that this blogger feels compelled to share her recommendation that you make a point of watching this documentary.


If you need more Jiro, check out YouTube as there are many short clips worth seeing.
* Some content is from Wikipedia with photos from Pinterest.